Saturday, February 14, 2015

Christmas Flash Back

In addition to my mother bugging me to continue posting to this blog, I just recently gave someone the link to it and realized it's been months since my last post! I knew this was probably the way it was going to be with a toddler, a baby, and a puppy; not to mention a busy social life! Oh well, it is what it is. 

So even though we've since celebrated the New Year and Valentine's Day is this weekend; let's travel back in time to Christmas and I'll give you the run down of how we celebrated!

Insert wavy lines and flashback music here! 

November 22nd 2014
TREE GOES UP!

That's right, an entire week prior to Thanksgiving I had the tree up! I guess that's one of the benefits to the faux tree; it's not going to dry out and shed needles all over. That, and pre-strung lights! Now before you freak out, I did not put the ornaments on until after turkey day. I just wanted to get a jump on my Christmas decor since we were hosting a holiday party this year. So much fun to decorate for our first Christmas in our new house! Here's how it all came out.

I have a long hall between my front door and the great room with a big long blank wall, so this is how I filled that space


 Here is another picture so you can get an idea of scale. 


Wish I could take credit for this super cute idea, but alas I cannot. Guess where the idea did come from? If you guessed Pinterest you get a prize! Found it while wasting away my precious free time pouring over the millions of amazing ideas and projects on that wonderful, but evil site! Here is the link to the creative minds behind this 3D holly wall. I just got a Silhouette cutting machine for my birthday (thanks mom!) and using it to cut out the vinyl letters was my first project!

I will however take credit for the stripped archway. I did it using strips of Washi tape. I liked it so much it's still up, almost three months later! It just adds a fun pop of color to my plain, grey entry.

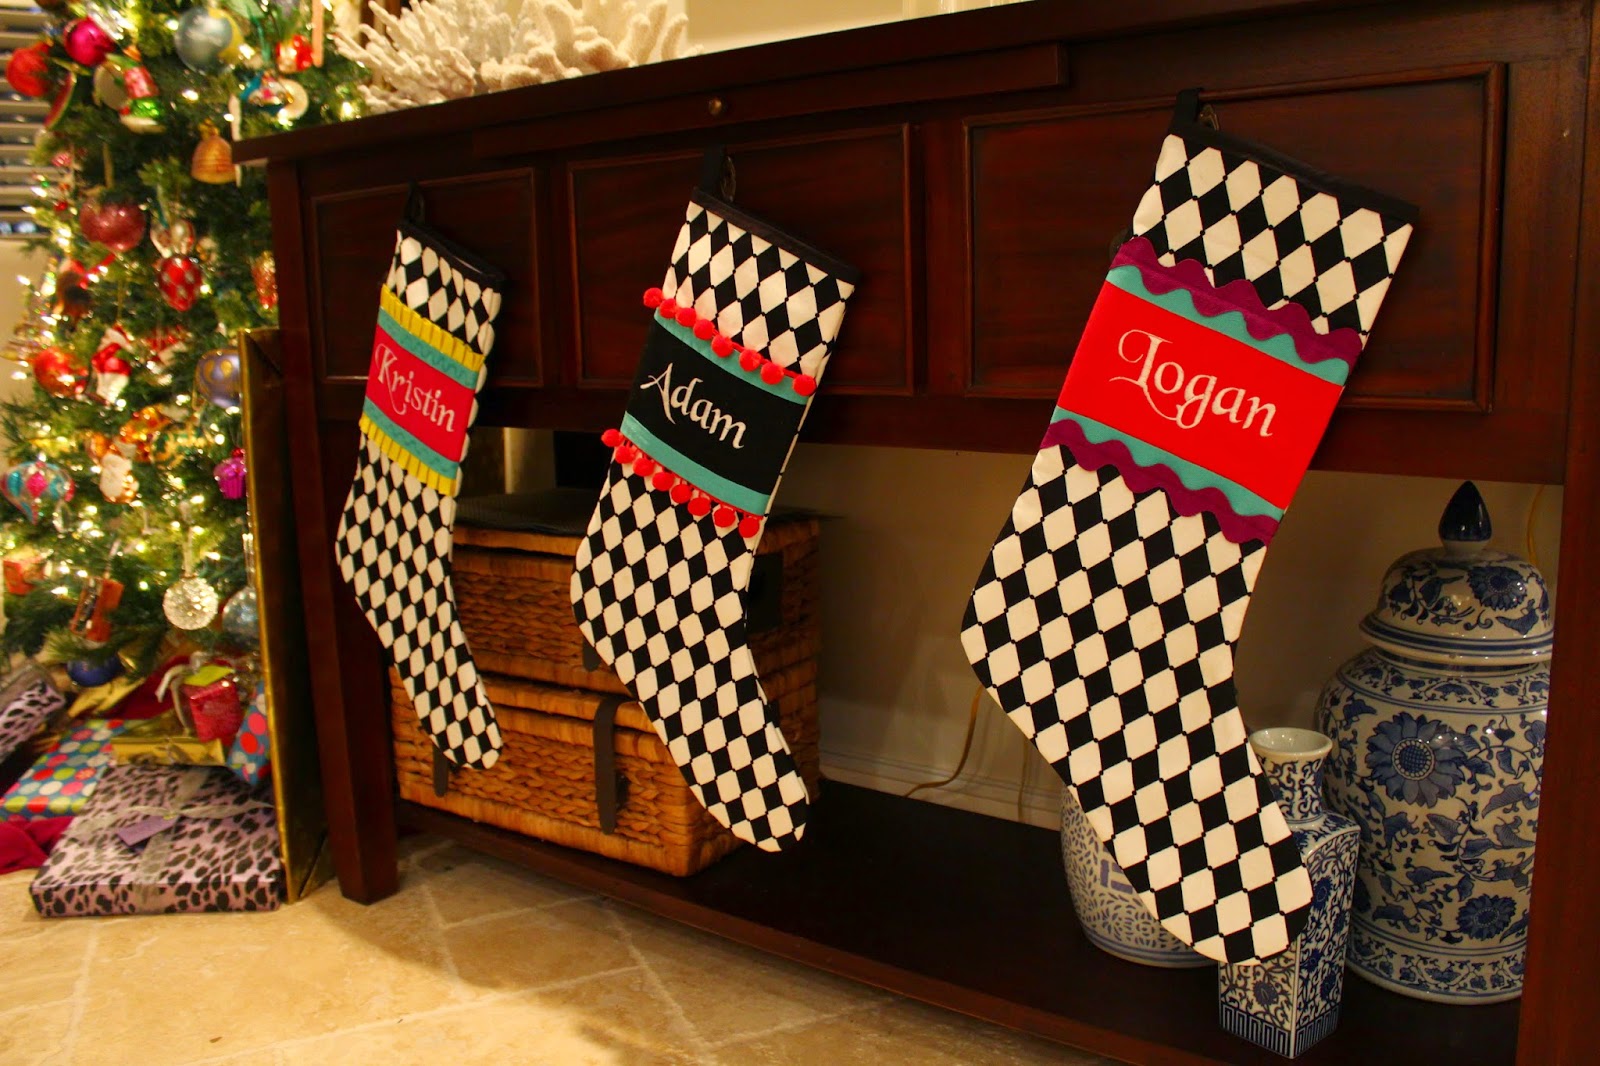
I mentioned in my last post (three months ago!) that I had just finished sewing the stocking of our newest addition. Here it is hanging happily with the others waiting to be filled.


The garland was a plain faux pine piece that I wired up with ornaments and ribbon. I did the same for the garland on my chandelier and also above our entry hall mirror.


Loved displaying our nutcracker and vintage toy collection here as well. 


We even added a new one to the collection this year. Big surprise it's an Oktoberfest nutcracker!


I also had fun crafting this wild and crazy wreath for the front door.


Finally, my last big holiday project involved an advent calendar for my two year old. 


She called it the numbers and asked almost every morning if she could have her number. Each paper bag was filled with either a small craft project, toy, or candy, and hung with a clothespin on a string tied to command hooks.

Now fast forward a few weeks...


December 13th, 2014 6:00pm
PARTY TIME!

Decided it would be fun to host a holiday cocktail party. It's a lot of work, but you know me, love any excuse to host a shindig!


This last picture is the only one I have of my party frock! Wish I had another occasion to wear this fun sequined pencil skirt! Maybe someday.


Once again journey forward with me two more weeks

December 20-24th, 2014
Week before Christmas

In the few days before Christmas my family descended upon us. It was hectic to have a house full, but I wouldn't change it for anything! We made cookies, drove around and looked at lights, and had a very lovely brunch with Santa at the Sun Valley ski resort, among other things.


December 25th, 2014
Christmas Day

The gifts were up on the table and not under the tree because, in case I forgot to mention, Thankgiving weekend we got a 9-week old boxer puppy! (What were we thinking!?)


Yes, I color-coordinate my wrapping paper to the rest of my holiday decor. You don't? 
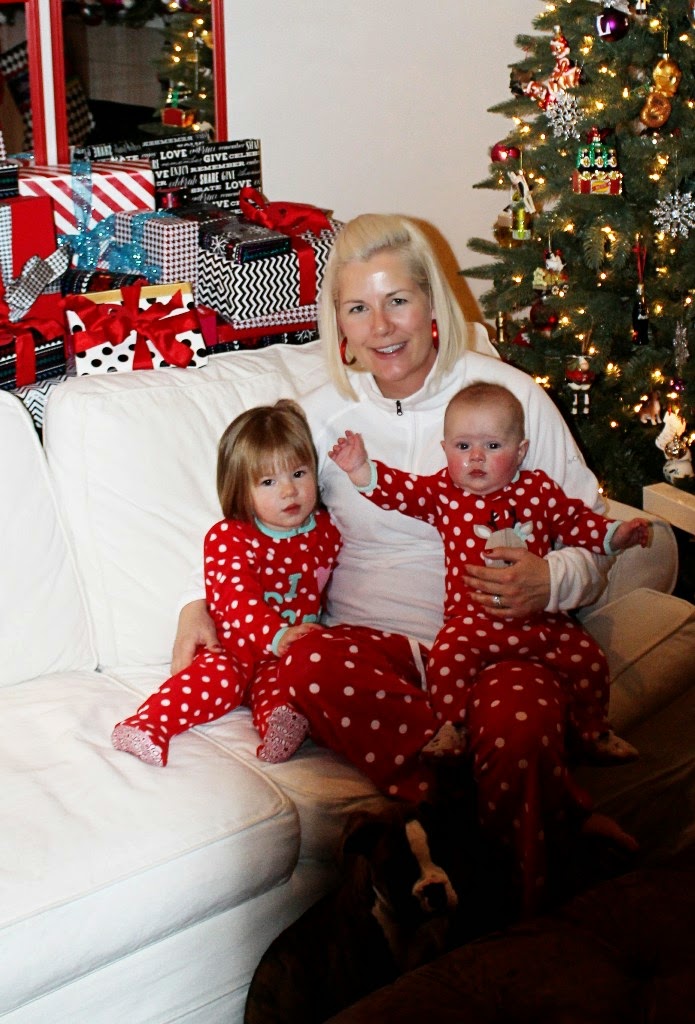

I also wear matching jammies! ABC- Always Be Coordinating!


Christmas morning is always the best, and now even more so that we have kids. My Dad and Logan enjoyed coffee together by the new DIY play kitchen. I have to save the before and after pictures for a separate post. It is just so cute it deserves its own day, besides this entry is already long enough. So with that in mind I will leave you with one last picture of my own little rudolph. 


Hope you and your family had a very merry Christmas!
You may now return to February 2015.

Sunday, November 16, 2014

Keeping Busy!

Thank goodness for nap time! Just about every day for the last week or two as soon as both my girls hit the sack (assuming they both decide to nap at the same time) I hightail it to the basement or the garage to get down to business. I have been crafting and working on lots of projects lately! So I thought I would do a quick little share of what I've been working on.

Logan's Big Girl Room:
* Drapes
* Pillows
* New Rug
* Lamps

Christmas
*Cocktail party invites
* Stockings
* Front door wreath
* Logan's play kitchen

I posted about Logan's big girl room a while ago with the hopes of having it done by now. Of course, life has gotten in the way and projects were put on hold until recently. Yesterday I attached this two inch grosgrain ribbon to simple white drapes for Logan's big girl room. I used iron-on hem tape and it couldn't have been easier! Now I'm on the hunt for antique brass curtain hardware, and then I just I need my husband home long enough to help me hang them!


 I also found time during naptime and bedtime to finish these floral euro shams for Logan's big girl room. I followed this blogger's easy straightforward tutorial on how to make shams with a flange and envelope closure since I'm still a novice sewer. I'm so happy with how they turned out and I can't wait to show you the entire room, but I still have a few things to finish up in there before that happens!


I have also been priming and painting this old TV cabinet found at a local thrift shop in preparation for Logan's play kitchen, which will be the big Christmas gift!


I ordered stainless contact paper for the oven and fridge, as well as marble contact paper for the back splash. I also found this little bar sink faucet and these little 5 inch cast iron burners on Amazon.  The thought is to make the play kitchen look like a mini version of our kitchen! It's going to be so cute. I was practically jumping with joy when the box from Amazon arrived today!


 Finally, with Christmas only six weeks away I've been busily preparing for a cocktail party we are hosting and feeling somewhat ready to bypass Thanksgiving and get to decorating for Christmas. Yes, I am one of those people. I even found a local radio station already playing Christmas music 24/7, and you better believe I am rocking out to it any time I'm in the car!


I have plans to put together a wreath for my newly painted front door. This spectacular showpiece is my inspiration! Hopefully I'll have my own version to share with you next week!


I am also excited to be hanging a new stocking on the mantel this year, as our newest addition Katie Parker will be celebrating her first Christmas! These are the stockings I made two years ago when Logan was first born.


Just this week I finished up Katie Parker's stocking with time to spare. No tutorial on how I made them, partly because I forgot to take pictures of the process, and partly because I am really not that good at sewing. You are much better off to take instruction from someone who actually knows what they are doing. I just kind of winged it! I will tell you I had pieces of felt monogrammed first before putting the stockings together rather than waiting until the stocking was finished and then having it monogrammed.


That's about it for now. Plenty to keep me busy! Hoping to have another update on all these fun projects in the weeks to come, so stay tuned!

Tuesday, November 4, 2014

Proud Pinterest Momma

Scrolling through my Facebook feed this morning I came across an article a friend shared titled, 5 Mom Shaming Trends That Need to Stop Now. Naturally, being a mother, I was curious. The author of the article makes great points on both sides of the "Mom Shaming" issues including breastfeeding, organic snacks, and working vs stay-at-home moms. The only issue I don't agree with her on is the Pinterest Party trend. Here are her thoughts on the subject:

 3. Pinterest parties.
Can we just stop, please? When (and why) did we even start this ridiculous trend? To make ourselves feel bad? I'm not sure who actually has time to plan these immaculate parties full of handmade decorations, glorified dessert tables and matching hats for guests. Sure, we've all done it, but it usually goes more like this: You pin "cute" banners and matching cupcake toppers that will look even cuter than your friends' party while falling asleep at 2 a.m. After forgetting to order the items off Etsy in time, you spend a fortune paying a local baker to make the treats and pawn them off as homemade. Of course, you then take 100 photos in hopes of getting one good shot and shamelessly pin, tweet, Instagram and tag it to every social media channel you own -- just to make sure all your mom friends have seen it. To make it worse, you go through and judge and (gasp) laugh at mistakes or flaws in your other friends' parties.
She claims she wants the "Mom Shaming" to stop and yet this somehow feels like a direct shame to me. Probably because I love this so called "ridiculous trend". In fact, long before Pinterest was even a blip on your computer screen I was planning and hosting themed parties with glorified dessert tables, handmade decorations, appetizers, etc. I'm not going to lie, when I post pictures of my parties to social media outlets I do so because I am proud. However, this is not the reason why I throw elaborate parties in the first place. The parties are always about the people. I go all out because I love it,  always have. I am creative and outgoing, so playing hostess is a great fit for me.
I have no problem attending a party with store bought decor, cake, food, etc. Ultimately I am at a party to enjoy the company of the other attendees. So if you present me with a store-bought fruit tray or bakery cookies I'm not going to pass judgment. So don't judge me because I want to hand slice individual artisinal cheeses and adorn them with tiny little labels, and color coordinate my decor and napkins. 
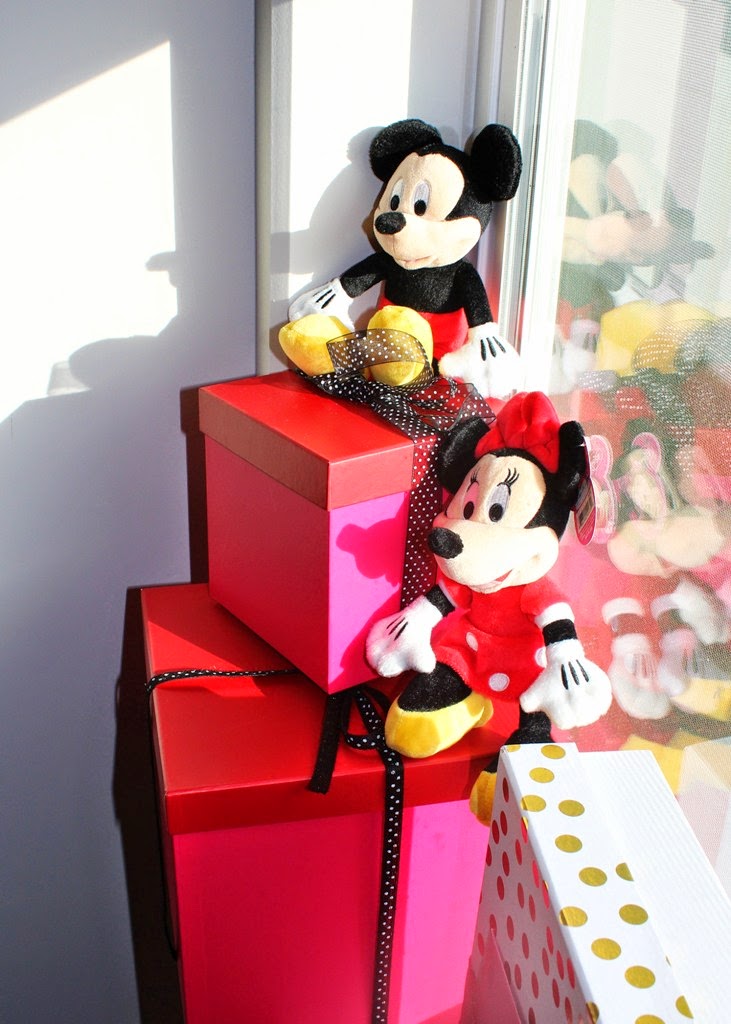
On that note, I wanted to share some pictures from my daughter's Minnie Mouse-themed 2nd birthday party. Yes, I handmade decorations; and yes, I decorated an adorable cake; and yes, I dressed her to theme; and No, she won't remember. So why go to the trouble? Because it was a special day, for a special girl, and I loved seeing the joy on her face when she sat in her chair and pointed out all of the Mickey Mouses. And in the interest of full disclousure I did it for me too, to fulfill the need to create and share my passion. I am a "Pinterest Mom" and proud of it!
An easy Mickey Mouse mobile, I just cut the heads out of card stock and ran them through my sewing machine!


Ice cream cake! Notice the imperfections, I may be a "Pinterest Mom" but I'm not perfect!

All worth it for that adorable face!

Tuesday, October 21, 2014

Chopping and Chatting

The leaves are starting to change, the air is cool and brisk in the mornings, my boots are eagerly awaiting their seasonal debut, and pumpkin spice lattes have arrived at Starbucks. It's official fall is here! You know what else seems to happen during fall? The meals seem to get heartier and cozier. More baking and roasting start happening in my kitchen and the crock pot comes out of hiding.


So a few weeks ago I invited a few of the girls over to prepare and put together crock pot freezer meals. This is something I've never done before, but have seen lots of pins floating around Pinterest and it peaked my interest. Crock pot cooking isn't all that difficult, in fact it's down right easy; but this makes it even easier! You chop all the ingredients at one time, put them all into their respective gallon freezer bags and voila done! Just thaw out the night before and dump into the crock pot in the morning. Set it and forget it!

Because I volunteered to host this first attempt at crock pot freezer meals, I decided upon the five recipes and did the grocery shopping to pick up everything we would need. Then everyone just paid me back for the cost of the ingredients ($50). Additionally I labeled all the freezer bags and printed out the recipes to save us a little time. I cannot tell you how many blog post I read that said it took them one hour to make 12 meals or some variation of that. I'm calling bull s*@#. Realistically 2-3 hours is a better estimate if you are attempting this as a party or get together. 


The time flew by, because two to three hours in the kitchen chopping and chatting with a few of your favorite gal pals makes it fun! This is especially true if you are like me and my friends; because we like to think we're Julia Childs and drink a little wine during the cooking process!


If you are thinking of hosting a crock pot freezer party yourself here are a few things to take into consideration:

1. Space - make sure you have plenty of clear counter/table space!
2. Utensils - We easily used 8-10 bowls to hold all of our chopped ingredients before assembling the bags. Cutting boards and knives too!
You can have each guest bring their own if you are worried you don't have enough.
3. Time - as I mentioned above, you can count on a minimum of 2 hours
4. Organization - I'm sure there are several ways to arrive at the end product, but we chopped everything for all recipes first, and as we finished chopping an ingredient we placed it in a bowl on the table by the freezer bags and recipe card and then assembled each recipe one by one. 
5.  Getting it home - we only made 5 different meals, but five gallon bags full of ingredients can be tricky to carry home, so provide guest with a box or bag large and sturdy enough to transport meals home. 
6. Season to Taste - I would also make sure to remind each guest to salt and pepper to taste once their meals are in the crock pot. None of the recipes we prepared called for salt or pepper, but I think almost every recipe would benefit from a dash or two.
7. Guest - I would limit the guest list to 4-6 guest. Even with a large kitchen, the saying "too many cooks in the kitchen" still applies!


These are the recipes I chose, but it might also be fun to let each guest contribute a recipe. 
The Beef stew, and Cilantro Lime Chicken  recipes came from Six Sisters Stuff blog. 
The Teriyaki Chicken and Creamy Italian Chicken came from this Today Show link, and the 
Pork and Tomatillo Stew was a spin off of this recipe from Cooking Light.


lots of recycling!


So far the only one my family has tried is the Teriyaki Chicken. It was good, but a little too sweet in my opinion. It was also disappointed that the peppers turned to mush. In the future I think I would leave the fresh bell peppers out of it until about half way through cooking, but thats just me!
Overall it was a fun and productive afternoon. I can't wait to try the rest of our crock pot meals, and when they run out I will be ready to host another chopping and chatting party!